Acrylic Chocolate Molds: Your Complete Guide for Professional Use
12 Jul 2025
🍫 Everything you need to know about acrylic chocolate molds
✨ What are acrylic molds?
Acrylic molds are professional tools used to create elegant and elaborate chocolates, giving you shop-quality results thanks to their shine and precise design.
📦 Technical specifications for acrylic molds
-
✨ Crystal transparency to see the product during shaping
-
🛡️ Resistant to breakage and scratches
-
🌡️ Withstands temperatures from -40°C to +80°C
-
🧼 Smooth, non-porous surface, easy to clean
-
♻️ Reusable thousands of times
🛠️ How to use
-
Melt the chocolate using the hot water bath technique.
-
Gently fill the mold with chocolate.
-
Shake the mold to release air.
-
Chill the mold in the refrigerator for 10-15 minutes.
-
Extract the chocolate and enjoy!
🧼 Clean the molds after use.
-
🧽 Do not wash the mold with hot water or in the dishwasher.
-
💦 Use warm water and mild soap to gently clean the mold.
-
🧴 Gently wipe the mold with a towel dampened with lukewarm water.
-
💧 Wash the mold well to remove any soap residue.
-
🚫 Avoid using rough or abrasive tools to avoid scratching the molds.
-
🌀 Dry the mold using a soft cotton pad.
-
☀️ Store the mold in a dry place, away from direct sunlight.
-
🧻 Dry the mold completely after washing to avoid moisture accumulation.

Dubai Luxury Chocolate Recipe
the components:
-
500 grams of kunafa
-
3 tablespoons melted ghee
-
2 tablespoons cream
-
1 cup chocolate
Preparation method:
-
First, put the kunafa in the freezer for 3 hours until it freezes.
-
Then cut the kunafa and put it in an electric blender and grind it until it becomes smooth.
-
Then put the melted ghee in a pan on the stove and add the chopped kunafa to it and stir it well until it turns golden brown.
-
Pour some of the pistachio cream over the kunafa and stir well until the entire kunafa is covered with the cream. This way, you have prepared the chocolate filling.
-
Then melt the chocolate by placing it in a bowl over a pot of boiling water until it melts completely.
-
Then bring the silicone chocolate molds and pour the melted chocolate into each bottom of the mold, then put the molds in the freezer until the chocolate freezes.
-
If you don't have molds, you can replace them with regular plastic boxes.
-
After the chocolate layer hardens in the molds, place a layer of crushed kunafa on it. Make sure to leave the sides around the kunafa empty so that it fills with chocolate and the second layer of chocolate connects to the first layer, and the chocolate mold becomes completely closed.
-
Then pour an additional amount of chocolate to form the second layer and close the mold around the kunafa.
-
Then put the mold back in the refrigerator until the second layer solidifies and make sure that the chocolate has hardened, then remove it from the mold.
-
Finally, decorate the chocolate molds by adding nuts or candy colors.
advice:
-
Use high-quality chocolate for the best taste and texture.
-
Keep chocolate in a cool, dry place to maintain its quality.

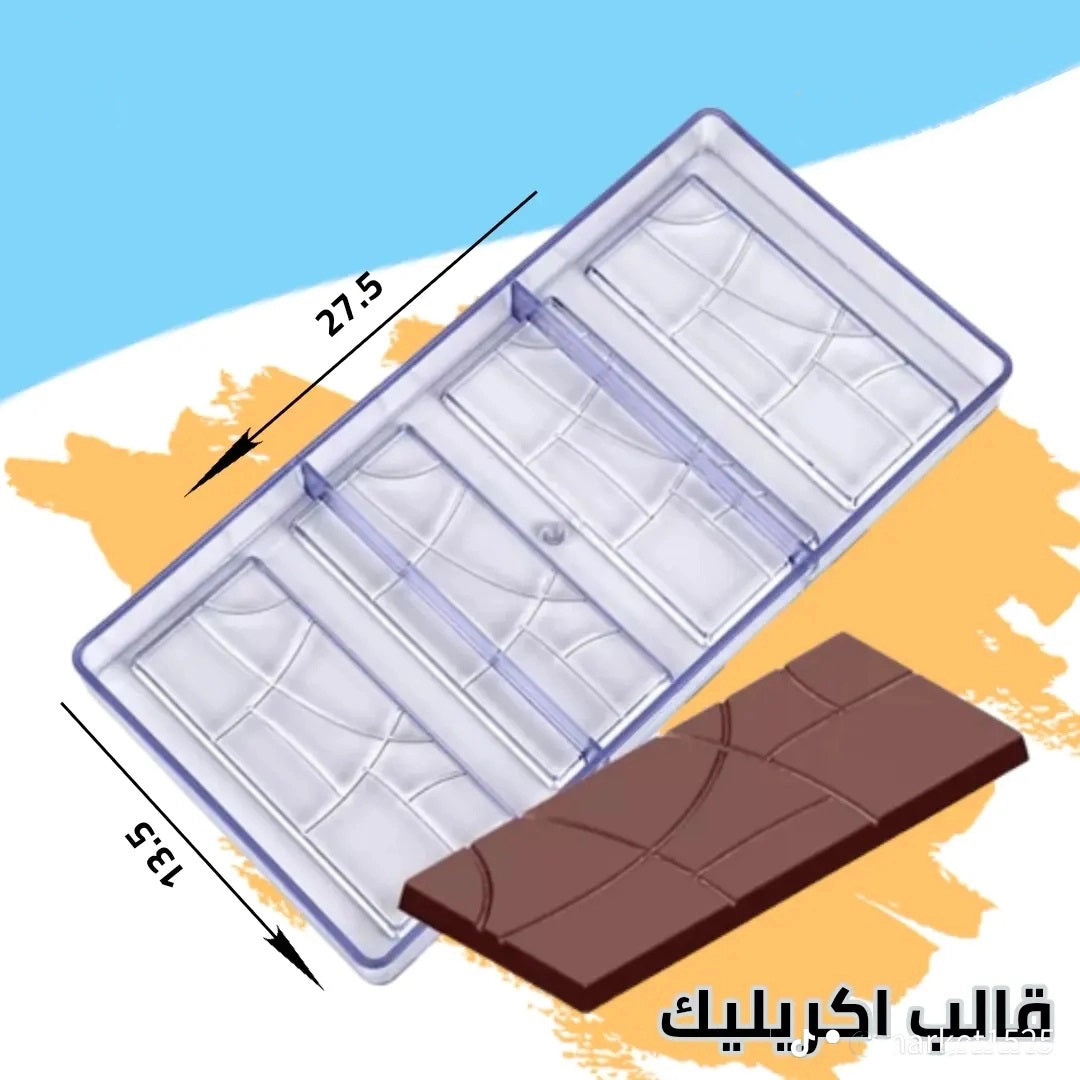
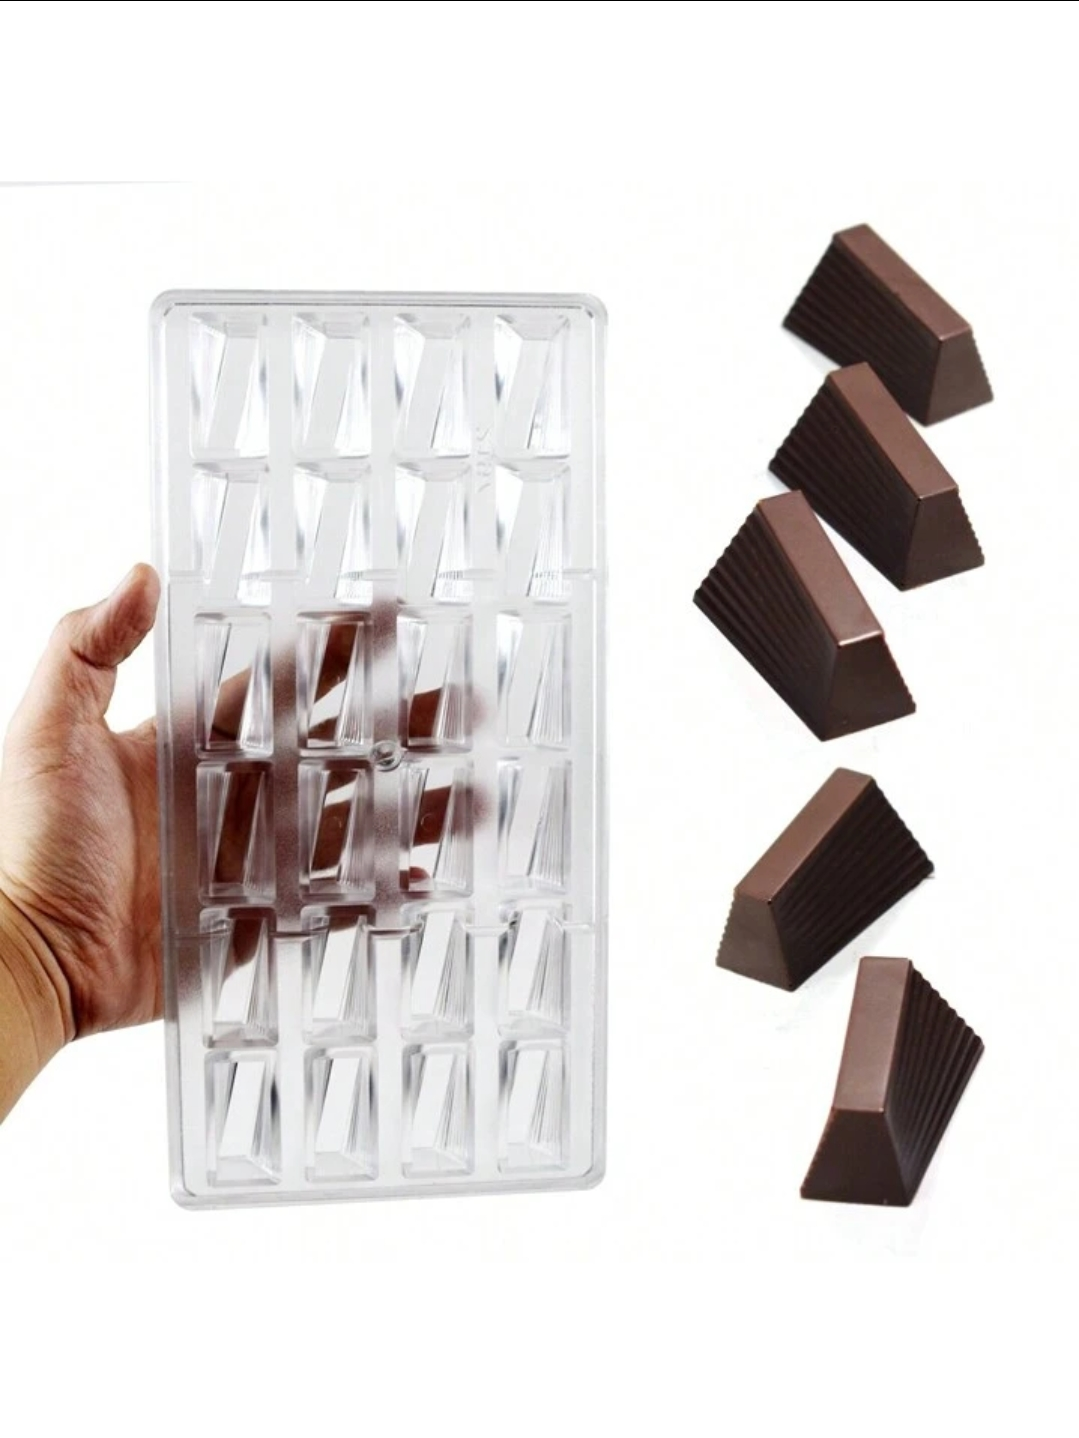
📏 Standard template dimensions
Length: 27 cm
Width: 13.5 cm
Height: 2.5 cm
Number of cavities: 18 to 21
🛍️ Discover our selection of templates


📝 Note
📌 Make sure to clean the molds well after each use to maintain their quality.
📌 Avoid exposing the molds to direct sunlight for long periods.
📌 Do not use abrasive materials or strong solvents on the molds.
📌 Store the molds in a cool, dry place to maintain their shape and durability.
📝 Conclusion
Acrylic chocolate molds are an ideal choice for anyone seeking professional presentation and ease of use. Give your desserts a dazzling artistic touch!
منتجات متنوعة


اطلع على منتجاتنا
الاختيار الافضل
Praesent vestibulum congue tellus at fringilla. Curabiteur vitae semper sem, eu convallis est. There is no connection between people and other people who are not connected to it. What else is there during the day?
المدونيين
Praesent vestibulum congue tellus at fringilla. Curabiteur vitae semper sem, eu convallis est. There is no connection between people and other people who are not connected to it. What else is there for the next day? Crassips are enough and turpis eleifend vitae malesuada magna congue. Damascus ullamcorporneque. It's important for me and my family to eat as much as possible. Pellentesque nulla eros accumsan quiso at tincidunt lobortis daily denims, suspendisse vestibulum lectus in lectus volutpate.